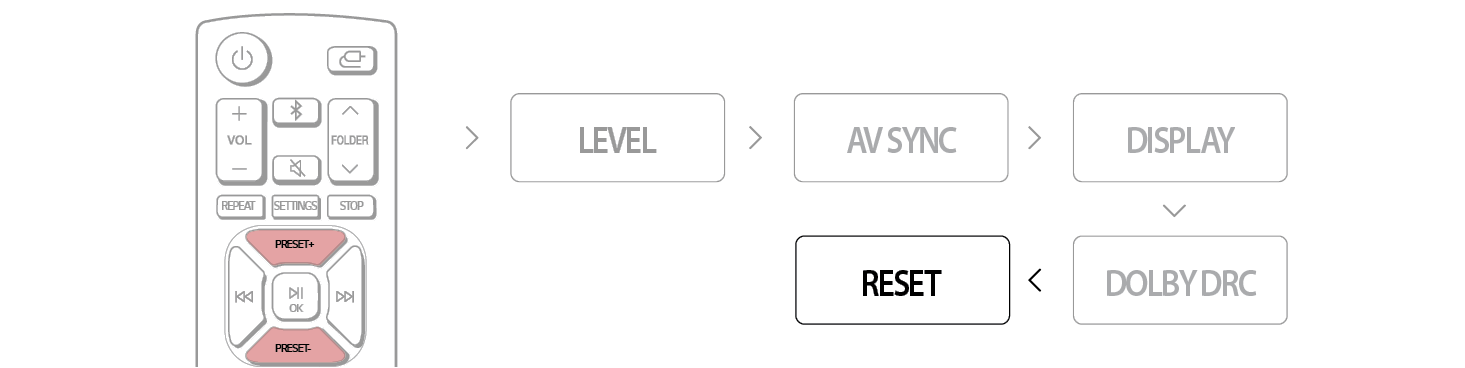
Settings and adjustments using the SETTINGS menu
By using the SETTINGS menus, you can make various adjustments to customise the unit.
TEST TONE menu
You can check the speakers tone by listening to the test tone from your listening position.
- a Press the SETTINGS button on the remote control. "TEST TONE" appears on the status display.


- b When you press the OK
 button on the remote control, the test tone is emitted from each speaker in sequence as follows.: you can select desired speakers manually by pressing PRESET
 repeatedly.
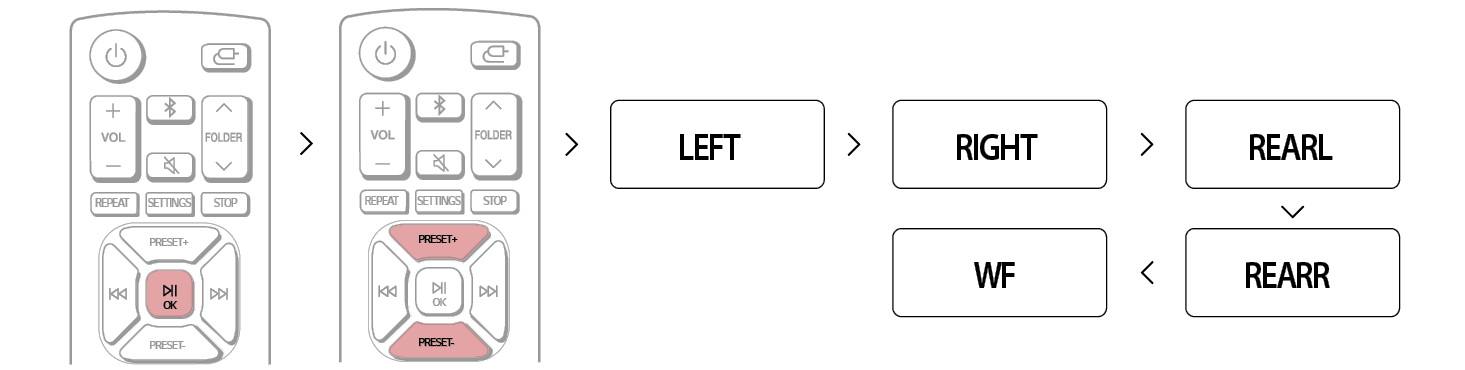

- c You can verify each speakers tone.
- d Press SETTINGS button to exit the setup menu.
LEVEL menu
You can adjust the level of each speaker. These settings are applied to all sound fields.
- a Press the SETTINGS button on the remote control. "TEST TONE" appears on the status display.


- b Press the PRESET

 button on the remote control until "LEVEL" appears on the status display.
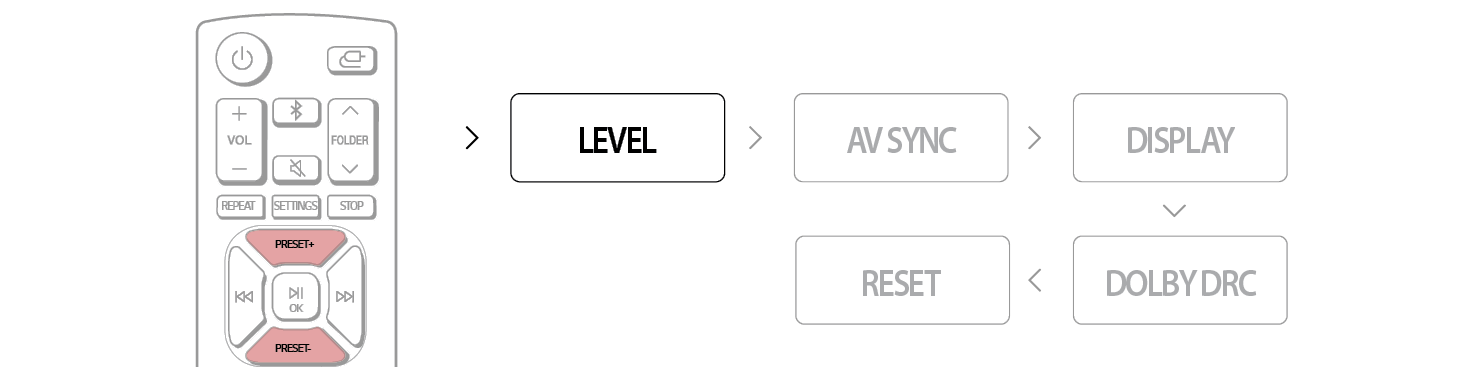

- c Press the OK
 button on the remote control. Then press the PRESET
 repeatedly until the desired speaker appears. The display changes cyclically in the display window as follows.:
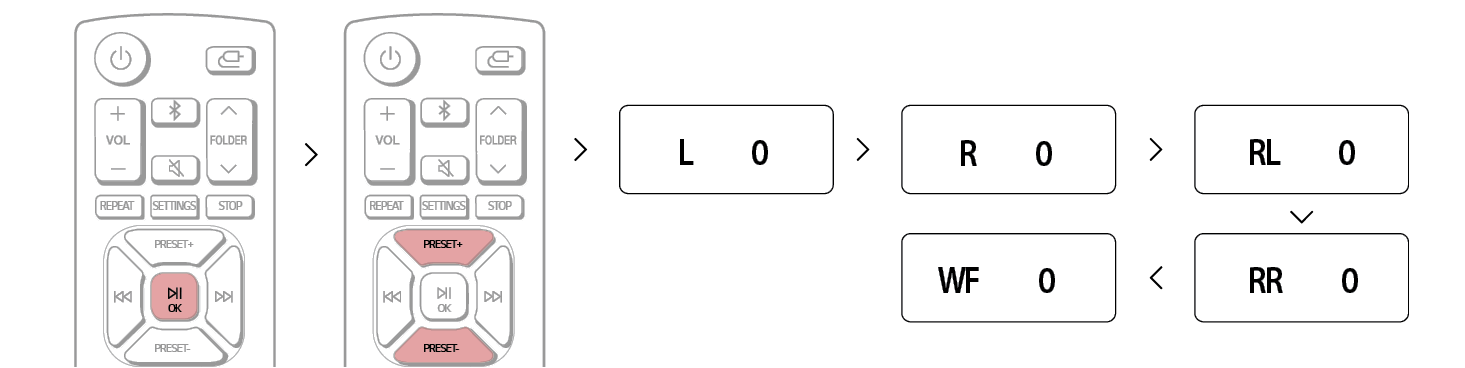

- d When the desired speaker is displayed, press Skip/Search

 to adjust the level of each speaker.


|
Display |
Description |
|
L |
Front left speaker (- 6 to + 6) |
|
R |
Front right speaker (- 6 to + 6) |
|
RL |
Surround(Rear) left speaker (- 6 to + 6) |
|
RR |
Surround(Rear) right speaker (- 6 to + 6) |
|
WF |
Subwoofer (- 15 to + 6) |
- e Repeat and adjust the sound level of the other speakers.
- f Press SETTINGS to exit the setup menu.
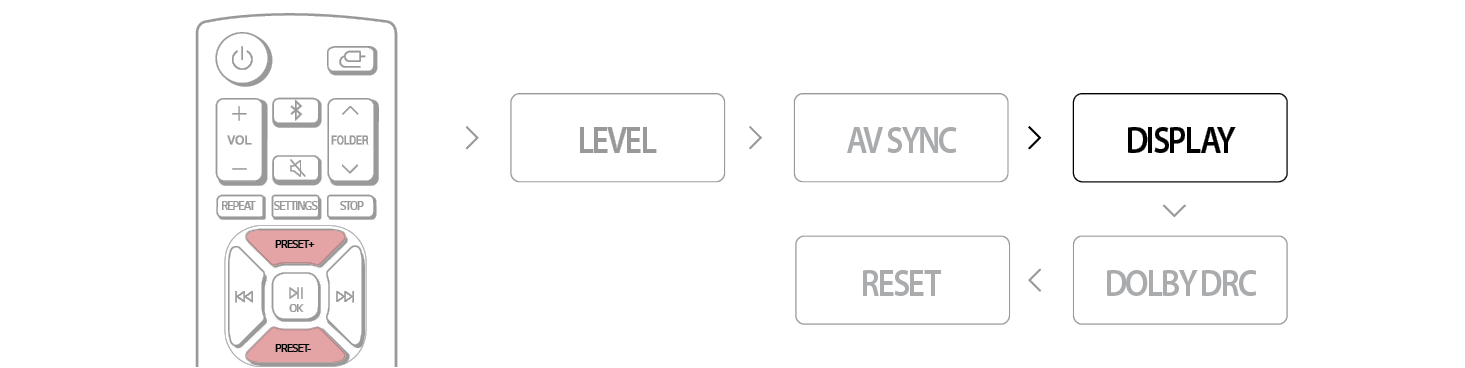
AV SYNC menu (Adjusting the audio delay)
You can delay the sound output using this function when the image is slower than the sound.
- a Press the SETTINGS button on the remote control. "TEST TONE" appears on the status display.


- b Press the PRESET

 button on the remote control until "AV SYNC" appears on the status display.
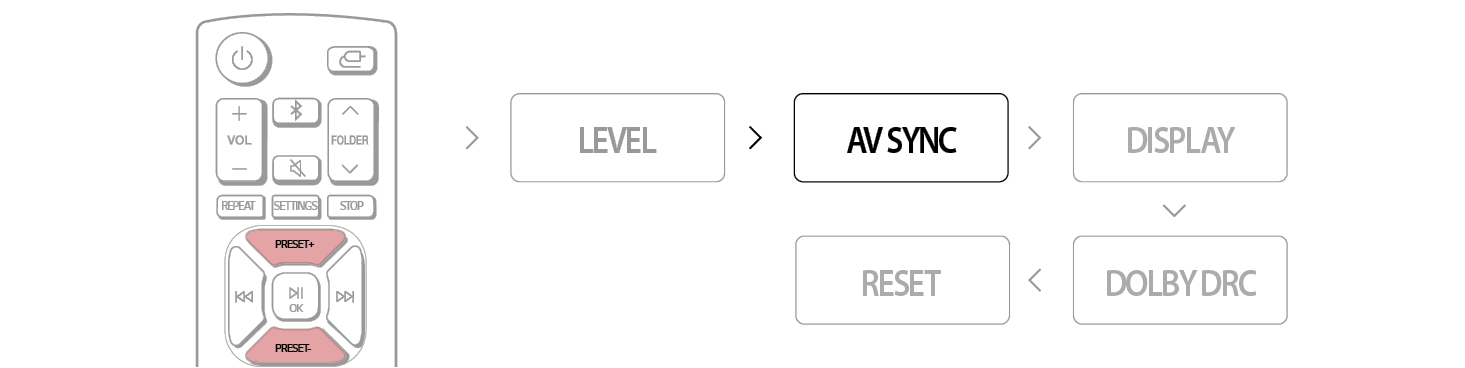

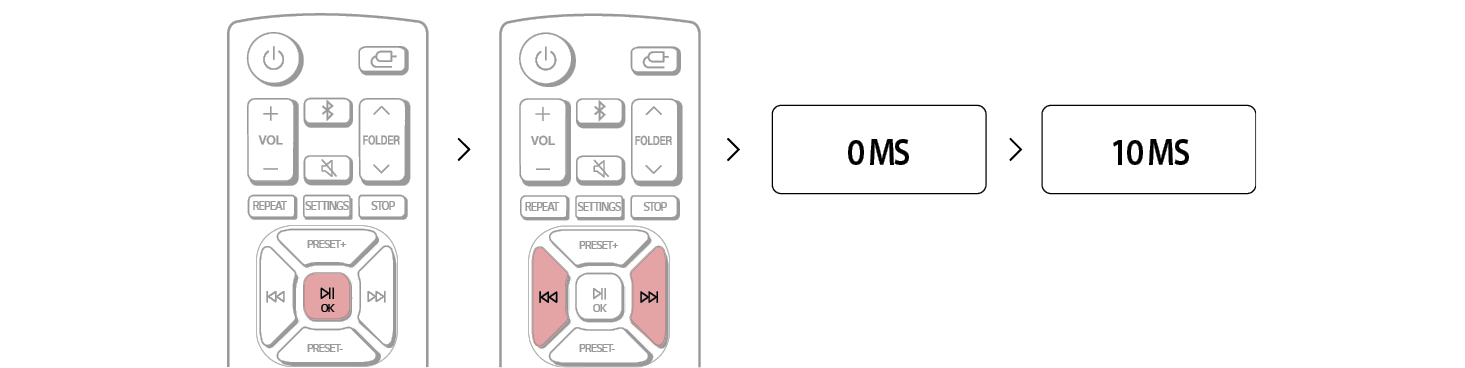
- c Press the OK
 button on the remote control. Then press the Skip/Search
 repeatedly to adjust the delay between sound and image. You can adjust from 0 MS to 300 MS in 10 MS steps.

- d Press SETTINGS to exit the setup menu.
|
|
|
|
|
You may not be able to adjust the delay between sound and image perfectly using this function. |


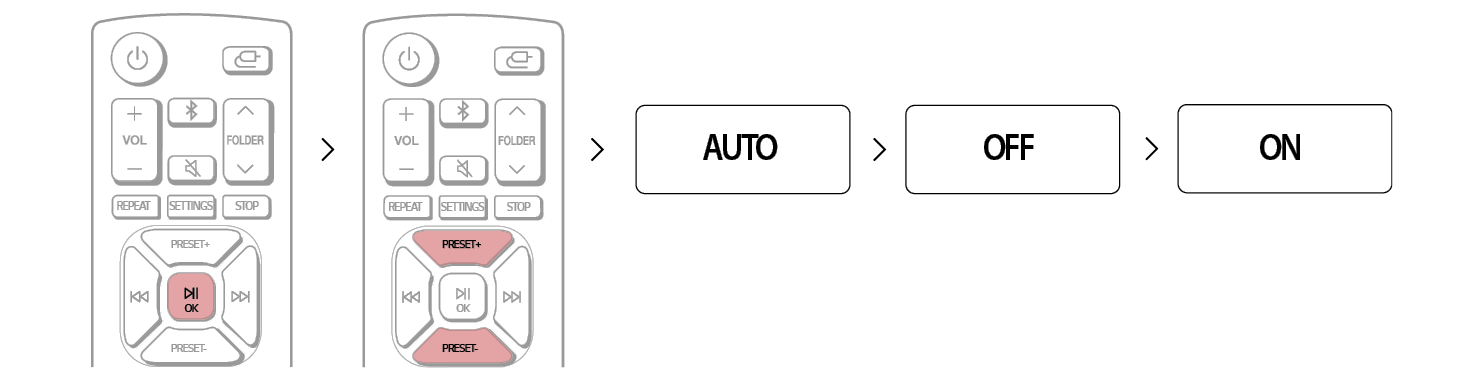
You can set the status display mode.
- a Press the SETTINGS button on the remote control. "TEST TONE" appears on the status display.


- b Press the PRESET

 button on the remote control until "DISPLAY" appears on the status display.

- c Press the OK
 button on the remote control. Then press the PRESET
 to select DISPLAY mode.
- - AUTO: Displays for 15 seconds then dims.
- - OFF: Displays for 15 seconds then turns off after dims for 5 seconds.
- - ON: Display continues with light up.

- d Press SETTINGS to exit the setup menu.
DOLBY DRC menu
This function allows you to listen to a movie at a lower volume without losing clarity of sound. You can compress the dynamic range of the Dolby Digital audio output.
- a Press the SETTINGS button on the remote control. "TEST TONE" appears on the status display.


- b Press the PRESET

 button on the remote control until "DOLBY DRC" appears on the status display.


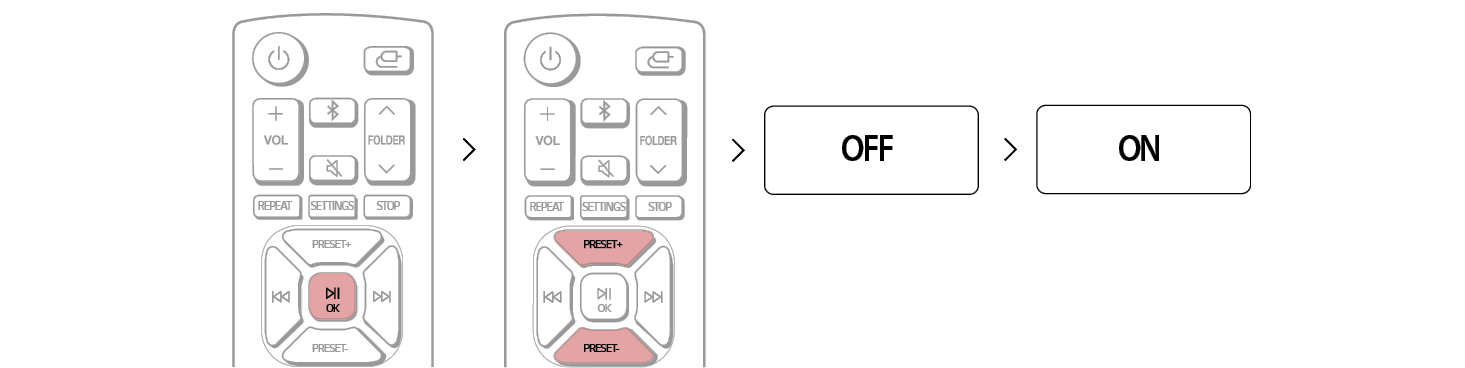
- c Press the OK
 button on the remote control. Then press the PRESET
 to set the DRC.
- - OFF: Deactivates this function.
- - ON: Activates this function.

- d Press SETTINGS to exit the setup menu.
|
|
|
|
|
Audio dynamic range compression lets you compress the dynamic range of the soundtrack based on the dynamic range information included in the Dolby Digital signal. |


RESET menu
This allows you to initialise settings you have made in the SETTINGS menu.
- a Press the SETTINGS button on the remote control. "TEST TONE" appears on the status display.


- b Press the PRESET

 button on the remote control until "RESET" appears on the status display.

- c Press the OK
 button on the remote control. Then press the PRESET
 to select "YES" or "NO”.


- d Press SETTINGS to exit the setup menu.
Using the Product as an Audio System